How to Capture Packets from a Wireless Client
Choose the right capture point, record a Wi-Fi client’s traffic with Wireshark, and use monitor mode when you need raw 802.11 frames.
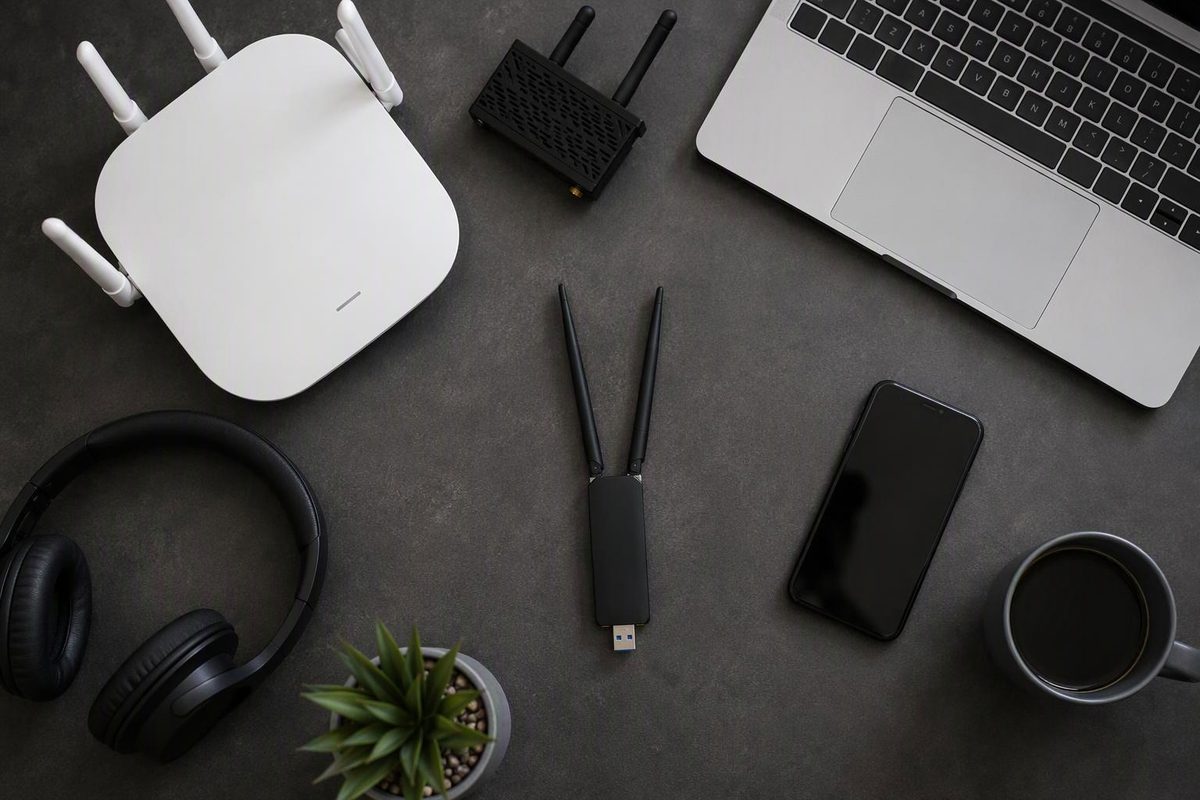
To capture a wireless client’s own network traffic, run Wireshark on that client, select its active Wi-Fi interface, and record the event. You normally do not need monitor mode for this.
To inspect what happens over the radio—association, management frames, or Wi-Fi retries—use a separate, monitor-mode-capable adapter tuned to the client’s channel. These are different captures, answering different questions. Wireshark’s WLAN capture guide explains the distinction.
Capture only traffic and systems you own or are authorized to inspect. Prefer a controlled test network and a short reproduction over a broad recording.
Choose where to capture
| Your question | Best starting point | Main limitation |
|---|---|---|
| What connections does this laptop make? | The laptop’s active Wi-Fi interface | Usually lacks raw 802.11 and radio information |
| Why does this client fail to join Wi-Fi? | A separate monitor-mode adapter, or an AP’s radio-capture feature | Requires compatible hardware and the correct channel |
| What traffic does a phone or embedded client send? | An authorized capture on the device or network infrastructure carrying its traffic | Visibility depends on the interface and forwarding path |
A second laptop connected to the same SSID is not automatically a capture point for another client’s traffic. Ordinary Wi-Fi capture generally delivers that laptop’s own traffic plus some broadcast and multicast traffic. Promiscuous mode is not a substitute for monitor mode. See Wireshark’s WLAN capture setup.
If you use a managed switch to mirror an AP’s Ethernet uplink, you see traffic traversing that link—not the original radio headers. Select both directions and verify that the client’s traffic actually crosses that port. A normal switch port will not deliver another device’s unicast traffic merely because Wireshark is running in promiscuous mode. Wireshark’s Ethernet capture guide explains port mirroring and switch visibility.
Capture on the client with Wireshark
This is the simplest route for investigating application connections, name resolution, and transport behavior.
- Install Wireshark and configure capture permissions. On Windows, use Npcap as the capture driver. Live capture may require privileges; follow your operating system’s approved setup.
- Connect the client to the Wi-Fi network under test. Open Capture → Options and identify the active Wi-Fi interface. Hovering over an interface shows associated IPv4 and IPv6 addresses; the activity graph helps confirm your choice.
- Leave Monitor Mode off. Disable promiscuous mode for this client-side capture; it is unnecessary for the client’s own traffic and can cause problems with some Wi-Fi drivers. For an initial short capture on your own test client, leave the capture filter empty so you do not accidentally exclude setup traffic.
- Start before reproducing the issue. Load the test page, make the request, or perform the action once. Note its time.
- Stop promptly and save as pcapng. Use a descriptive filename and keep the file in a restricted location.
The interface controls, monitor-mode setting, output format, and automatic stop conditions are documented in Wireshark’s Capture Options guide. See its capture prerequisites if interfaces are missing or capture cannot start.
It is normal for packets captured on Wi-Fi this way to appear with Ethernet headers. The adapter or driver may translate the 802.11 data frames before delivering them to the capture mechanism. This capture can show network traffic without showing the wireless exchange that carried it. The WLAN capture guide documents both this translation and promiscuous-mode limitations.
A bounded command-line capture
Wireshark includes dumpcap, which can write packets directly to a file. Run it from a terminal where the executable is available, or use its installed path:
dumpcap -D
Find the Wi-Fi interface in the list. If its number is 1, record up to 60 seconds with:
dumpcap -i 1 -p -a duration:60 -w client-test.pcapng
Replace 1 with the number from your own list. Here, -p avoids requesting promiscuous mode, -a duration:60 stops after 60 seconds, and -w names the output file. Open that file in Wireshark afterward. These options are defined in the dumpcap manual.
Capture raw Wi-Fi frames with monitor mode
Use a separate capture radio where possible. Enabling monitor mode can disconnect an adapter from its network; doing that to the client’s only Wi-Fi adapter can prevent the very event you want to record. Support depends on hardware, driver, operating system, and capture software. See Wireshark’s Capture Options documentation.
Before starting, record the client’s current Wi-Fi MAC address, access point’s BSSID (the identifier for that wireless network on the AP), band, channel, and channel width from the client or your network administration tools.
Then:
- Place the capture device where it can receive both the client and AP.
- Enable monitor mode on the capture adapter and select an available 802.11 link-layer format, preferably one with radio metadata.
- Tune it to the client/AP channel with a compatible width. Do not channel-hop during a single-client troubleshooting capture: time spent on another channel creates gaps.
- Start before the event. For a join problem, reconnect your test client normally while the separate capture runs.
- Confirm that the file contains IEEE 802.11 frames, not only Ethernet packets. Look for frames from both the test client and AP before collecting a longer trace; unrelated beacons alone do not confirm that you can capture the exchange.
Wireshark’s WLAN guide describes link-layer selection and why a fixed channel matters. If the AP changes channel or the client roams elsewhere, a fixed-channel capture may stop seeing the exchange.
Linux example: a dedicated capture adapter
Use iw dev to identify the capture radio and iw list to check its supported modes. For a controlled lab on 2.4 GHz channel 11, this example creates a monitor interface on phy1:
sudo iw phy phy1 interface add mon0 type monitor
sudo ip link set mon0 up
sudo iw dev mon0 set channel 11
Use your capture radio’s actual PHY name and your test network’s channel. This basic example is not a channel-width configuration recipe for wider-channel networks. Do not run it against the radio maintaining the test client’s connection. Other interfaces or network-management software sharing the capture radio must not retune it or initiate scans.
Select mon0 in Wireshark, capture the event, then remove the temporary interface when finished:
sudo iw dev mon0 del
Interface creation and deletion are documented in Linux Wireless’s iw guide, and channel selection in its monitor-interface documentation. Shared-radio pitfalls are covered by Wireshark’s Linux WLAN setup.
On Windows, raw capture requires Npcap’s “Support raw 802.11 traffic (and monitor mode)” installation option and compatible hardware/drivers, as described in the Npcap Users’ Guide. Enable Monitor Mode inside Wireshark’s Capture Options rather than assuming every Wi-Fi adapter supports it; see the Windows WLAN setup instructions.
Filter after confirming the capture works
A capture filter determines what is recorded. A display filter only changes which recorded packets appear in Wireshark. Hidden packets remain in the file. See Wireshark’s filter guidance.
These display-filter examples use synthetic addresses; substitute the authorized client’s values locally:
| Display filter | What it selects |
|---|---|
ip.addr == 192.0.2.10 |
Packets containing that IPv4 source or destination |
wlan.addr == 02:00:00:00:00:01 |
802.11 frames containing that client MAC address |
wlan.addr == 02:00:00:00:00:01 && wlan.fc.retry == 1 |
Matching frames with the Wi-Fi Retry bit set |
The address syntax is covered in Wireshark’s display-filter guide, and the wireless fields in its 802.11 filter reference. A client-MAC filter is a useful starting point, not a complete selection of every related beacon or control frame. The IPv4 filter does not select the client’s IPv6 traffic.
Do not equate Wi-Fi retries with TCP retransmissions. They occur at different layers. Likewise, a missing frame in a monitor capture is not proof that the AP or client failed to receive it: the capture adapter has its own reception limits.
Understand encryption—and protect the file
A monitor capture can contain protected Wi-Fi data frames without exposing their inner IP packets. Recording the frames does not automatically decrypt them. In WPA3-Personal, knowing the network password and capturing the four-way handshake is not enough for passive decryption. See Wireshark’s 802.11 decryption documentation.
A normal client-side capture avoids that radio-layer visibility problem, but HTTPS content remains encrypted unless separately configured for authorized endpoint debugging. TLS protects application data independently of Wi-Fi encryption, as described in the TLS 1.3 specification. For the visibility boundary, see what HTTPS hides in a packet capture—and what it leaves visible.
Before sharing findings, remove unrelated traffic and redact payloads, tokens, addresses, hostnames, and identifiers. A display filter is not redaction, and a short snapshot length is not a guarantee that sensitive data is absent. Keep the original restricted; publish only a sanitized excerpt or synthetic example, never third-party packet data.